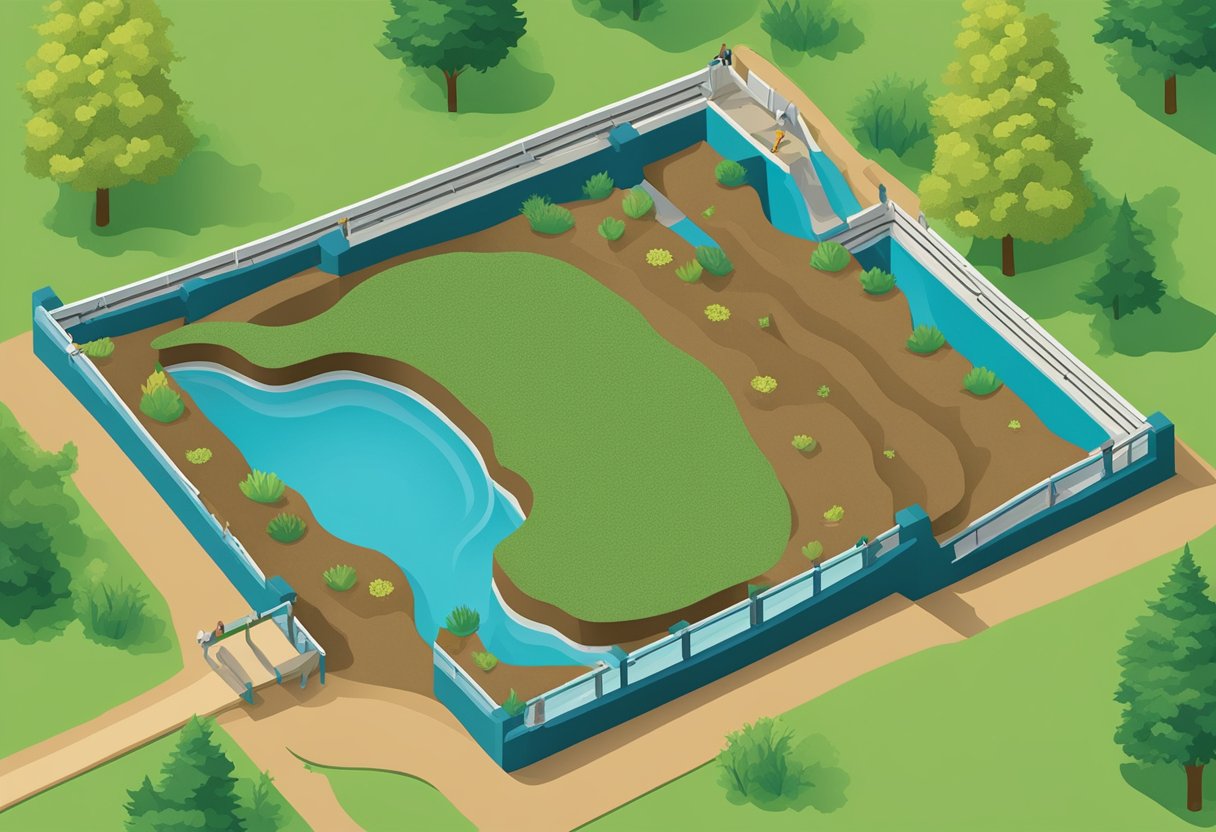
Excavating an area for a DIY koi fish pond can be an exciting and rewarding project for any homeowner. However, it is important to properly prepare the area before beginning construction to ensure the success of the project and the health of the fish. Excavation involves digging out the area where the pond will be located, removing any unwanted materials, and creating a suitable environment for the fish to thrive.
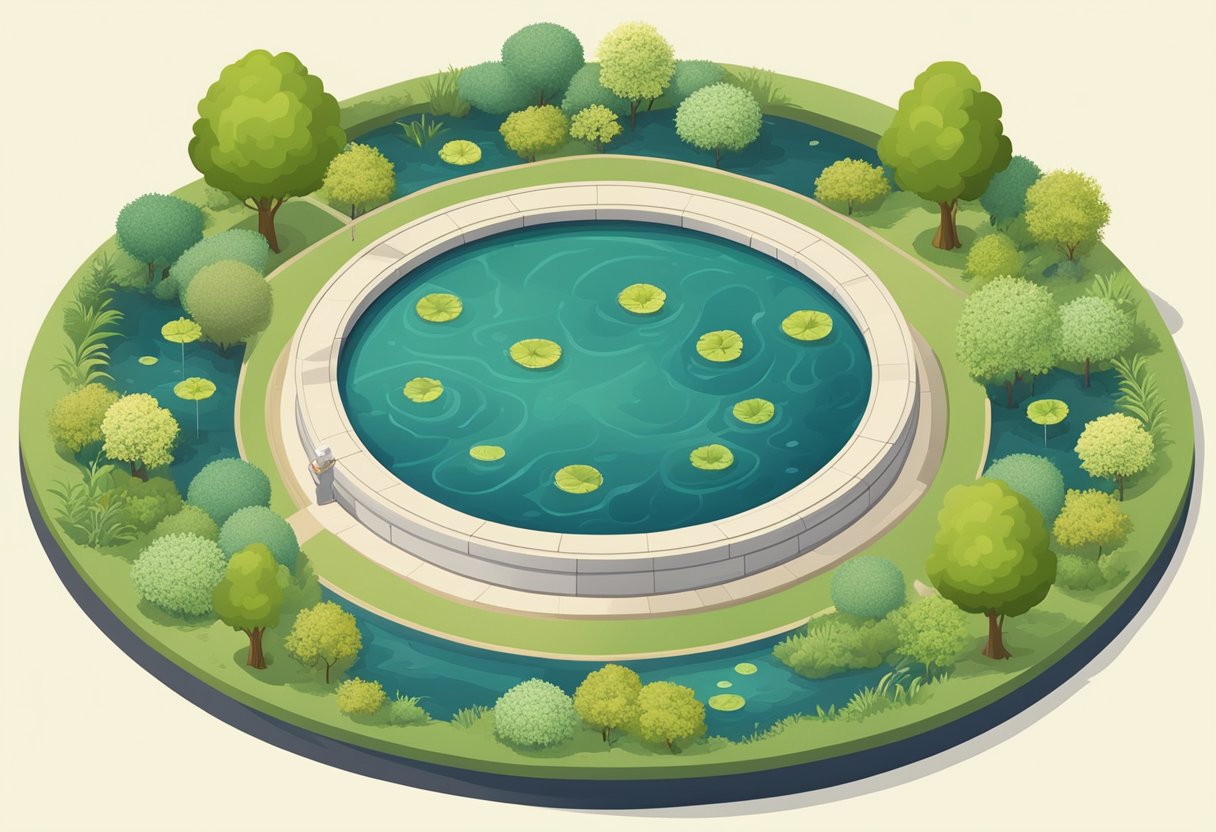
The first step in excavating the area for a DIY koi fish pond is to choose a suitable location. The area should receive ample sunlight, but also have some shade to prevent the water from overheating. It should also be away from any trees or shrubs that could drop leaves or other debris into the pond. Once a location has been chosen, the area should be marked off and the dimensions of the pond should be measured and marked. It is important to ensure that the pond is large enough to accommodate the number of fish that will be living in it, while also leaving enough space for plants and other decorations.
Planning Your Koi Pond
When it comes to building a DIY Koi pond, proper planning is essential. This section will guide you through the key considerations for planning your Koi pond.
Determining Size and Depth
The first step in planning your Koi pond is to determine the size and depth of the pond. Koi fish require a certain amount of space to swim and grow, so it’s important to choose a size that will accommodate your fish. As a general rule of thumb, a pond should be at least 1000 gallons for a few Koi fish.
The depth of the pond is also important. Koi fish require a minimum depth of 3 feet to survive the winter months. If you live in a colder climate, you may need to make the pond deeper to ensure the fish can survive.
Choosing the Right Location
Choosing the right location for your Koi pond is crucial. You want to choose a location that is away from trees and other debris that can fall into the pond. You also want to choose a location that is not too close to your home or other structures, as this can lead to problems with runoff and drainage.
Another important consideration is sunlight. Koi fish require sunlight to thrive, so you want to choose a location that gets at least 6 hours of sunlight per day.
Assessing Soil and Environmental Conditions
Before you start digging, it’s important to assess the soil and environmental conditions in the area where you plan to build your Koi pond. You want to choose an area with well-draining soil to prevent problems with standing water.
You also want to consider the environmental conditions in the area. If you live in an area with a lot of rainfall, you may need to install a drainage system to prevent the pond from overflowing during heavy rainstorms.
By taking the time to plan your Koi pond properly, you can ensure that your fish have a healthy and happy home.
Gathering Materials and Tools
Selecting Excavation Equipment
Before starting the excavation process, it is essential to have the right tools and equipment. The type of equipment needed will depend on the size of the pond and the type of soil in the area. For small ponds, a shovel, pickaxe, and wheelbarrow may be sufficient. However, for larger ponds, a mini excavator or backhoe may be necessary.
It is important to consider the terrain and accessibility of the excavation site when selecting equipment. If the site is difficult to access, smaller equipment may be necessary. Additionally, the equipment should be able to reach the desired depth and width of the pond.
Sourcing Pond Liner and Underlay
Once the excavation is complete, the next step is to line the pond with a pond liner and underlay. The liner and underlay will help prevent leaks and protect the pond from damage.
When selecting a pond liner, it is important to choose a high-quality liner that is durable and able to withstand the elements. Common materials for pond liners include PVC, EPDM, and butyl rubber. The underlay should be made of a non-woven geotextile material, which will provide additional protection for the liner.
Pond liners and underlays can be purchased at most home improvement stores or online. It is important to measure the dimensions of the pond accurately to ensure the liner and underlay are the correct size. Additionally, it is recommended to purchase a liner and underlay that are slightly larger than the pond to allow for overlap and to prevent any potential leaks.
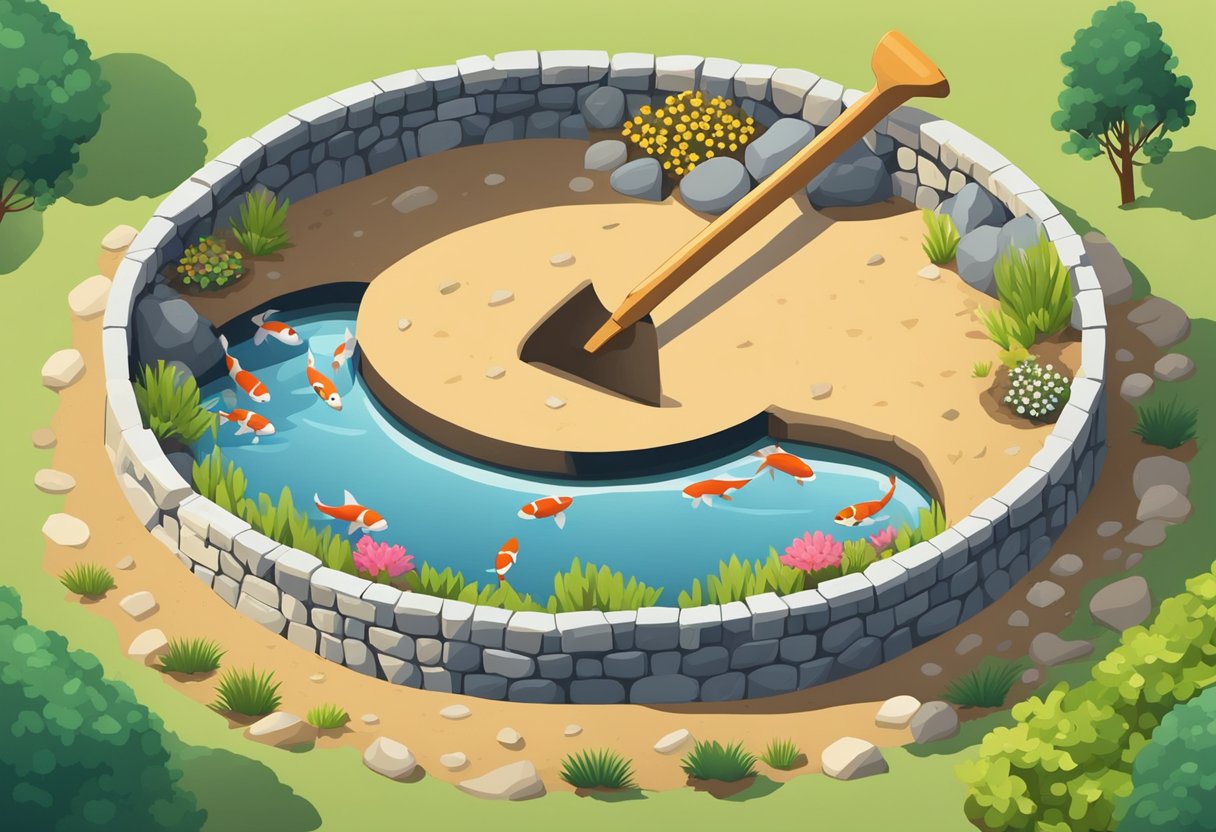
Excavation Process
Marking the Pond Perimeter
Before starting the excavation process, it is important to mark the perimeter of the pond. This can be done using stakes and string or spray paint. The perimeter should be marked at least 1 foot larger than the desired size of the pond to allow for the placement of rocks and plants around the edges. It is important to ensure that the perimeter is level and square to avoid any irregularities in the final shape of the pond.
Digging Techniques and Soil Removal
Once the perimeter is marked, the digging process can begin. It is recommended to start digging from the center of the pond and work outwards. This will help to ensure that the pond is symmetrical and evenly shaped. A shovel or excavator can be used to remove the soil. The soil can be placed on a tarp or in a wheelbarrow for easy removal.
Sloping and Shaping for Plant Shelves
As the excavation process continues, it is important to shape the pond to accommodate plant shelves and the desired depth of the pond. The pond should be sloped gradually from the edges towards the center to allow for easy access for maintenance and cleaning. Plant shelves can be created by digging out a small section of the pond wall at a desired depth. It is recommended to create at least two plant shelves at different depths to accommodate different types of aquatic plants.
By following these simple steps, the excavation process for a DIY Koi fish pond can be completed with ease. Remember to take your time and ensure that the pond is properly shaped and sloped for the best results.
Installing Liners and Underlays
Preparing the Base
Before installing the liner and underlay, it is important to prepare the base of the pond. This involves removing any sharp objects such as rocks or roots, and ensuring that the area is level. A level base will prevent any wrinkles or folds in the liner, which could cause leaks.
It is recommended to use a layer of sand or fine gravel as a base for the underlay. This will help to protect the liner from any sharp objects that may have been missed during the preparation process. Spread the sand or gravel evenly on the base of the pond, making sure there are no high or low spots.
Placing and Securing the Liner
Once the base is prepared, it is time to install the underlay and liner. Begin by placing the underlay over the base, making sure it covers the entire area of the pond. The underlay should be slightly larger than the pond to allow for any stretching or movement.
Next, carefully place the liner over the underlay, making sure it is centered and level. It is important to avoid any wrinkles or folds in the liner, as these can cause leaks. If necessary, adjust the position of the liner until it is smooth and even.
To secure the liner, use heavy rocks or bricks around the edges of the pond to hold it in place. Be sure to avoid any sharp objects that could puncture the liner. It is also recommended to use a layer of soil or sand around the edges of the pond to help hold the liner in place.
By following these steps, you can ensure a proper installation of the liner and underlay for your DIY Koi fish pond.
Final Touches and Landscaping
Edging and Border Treatments
Once the excavation is complete, it’s time to add the finishing touches to your DIY Koi fish pond. One of the most important aspects of the final touches is the edging and border treatments. This not only adds aesthetic appeal to your pond but also helps to prevent soil erosion and keep debris out of the pond.
There are several options for edging and border treatments. You can use natural stones, bricks, or pavers to create a border around the pond. This will not only add a decorative touch but will also help to prevent soil erosion. You can also use plants such as groundcovers, shrubs, or flowers to create a natural border around the pond.
Adding Water Features and Plants
Adding water features and plants to your DIY Koi fish pond can enhance the overall aesthetic appeal and provide a more natural habitat for your fish. Water features such as fountains, waterfalls, and streams can add a relaxing and soothing sound to your pond. You can also add plants such as water lilies, lotus, and other aquatic plants to provide shade and oxygen for your fish.
When choosing plants for your pond, it’s important to consider the needs of your fish. Some plants can be toxic to fish, so it’s important to do your research before adding them to your pond. You should also consider the amount of sunlight and shade your pond gets when choosing plants.
Overall, the final touches and landscaping of your DIY Koi fish pond are crucial to the overall success and aesthetic appeal of your project. By taking the time to carefully choose edging and border treatments and adding water features and plants, you can create a beautiful and natural habitat for your fish.
Conclusion
Excavating the area for a DIY Koi fish pond requires careful planning and execution to ensure success. By following the steps outlined in this article, one can create a beautiful and functional pond that provides a safe and healthy environment for Koi fish.
It is important to note that proper excavation techniques, including the use of appropriate tools and equipment, can help minimize damage to surrounding areas and prevent accidents. Additionally, taking into account factors such as soil type, drainage, and water source can help ensure the longevity and sustainability of the pond.
Overall, with the right approach and attention to detail, anyone can successfully excavate an area for a DIY Koi fish pond. Whether for personal enjoyment or as a professional project, creating a pond can be a rewarding and fulfilling experience.

As a dedicated veterinarian and animal enthusiast, I, Phoebe Wright, bring a unique perspective to my writing about Koi Fish. With my expertise in animal care, I strive to share valuable insights in a friendly and approachable manner, making my posts both informative and enjoyable to read.